
***Hola!!! Si vienen del blog de Momo, van muy bien!!!
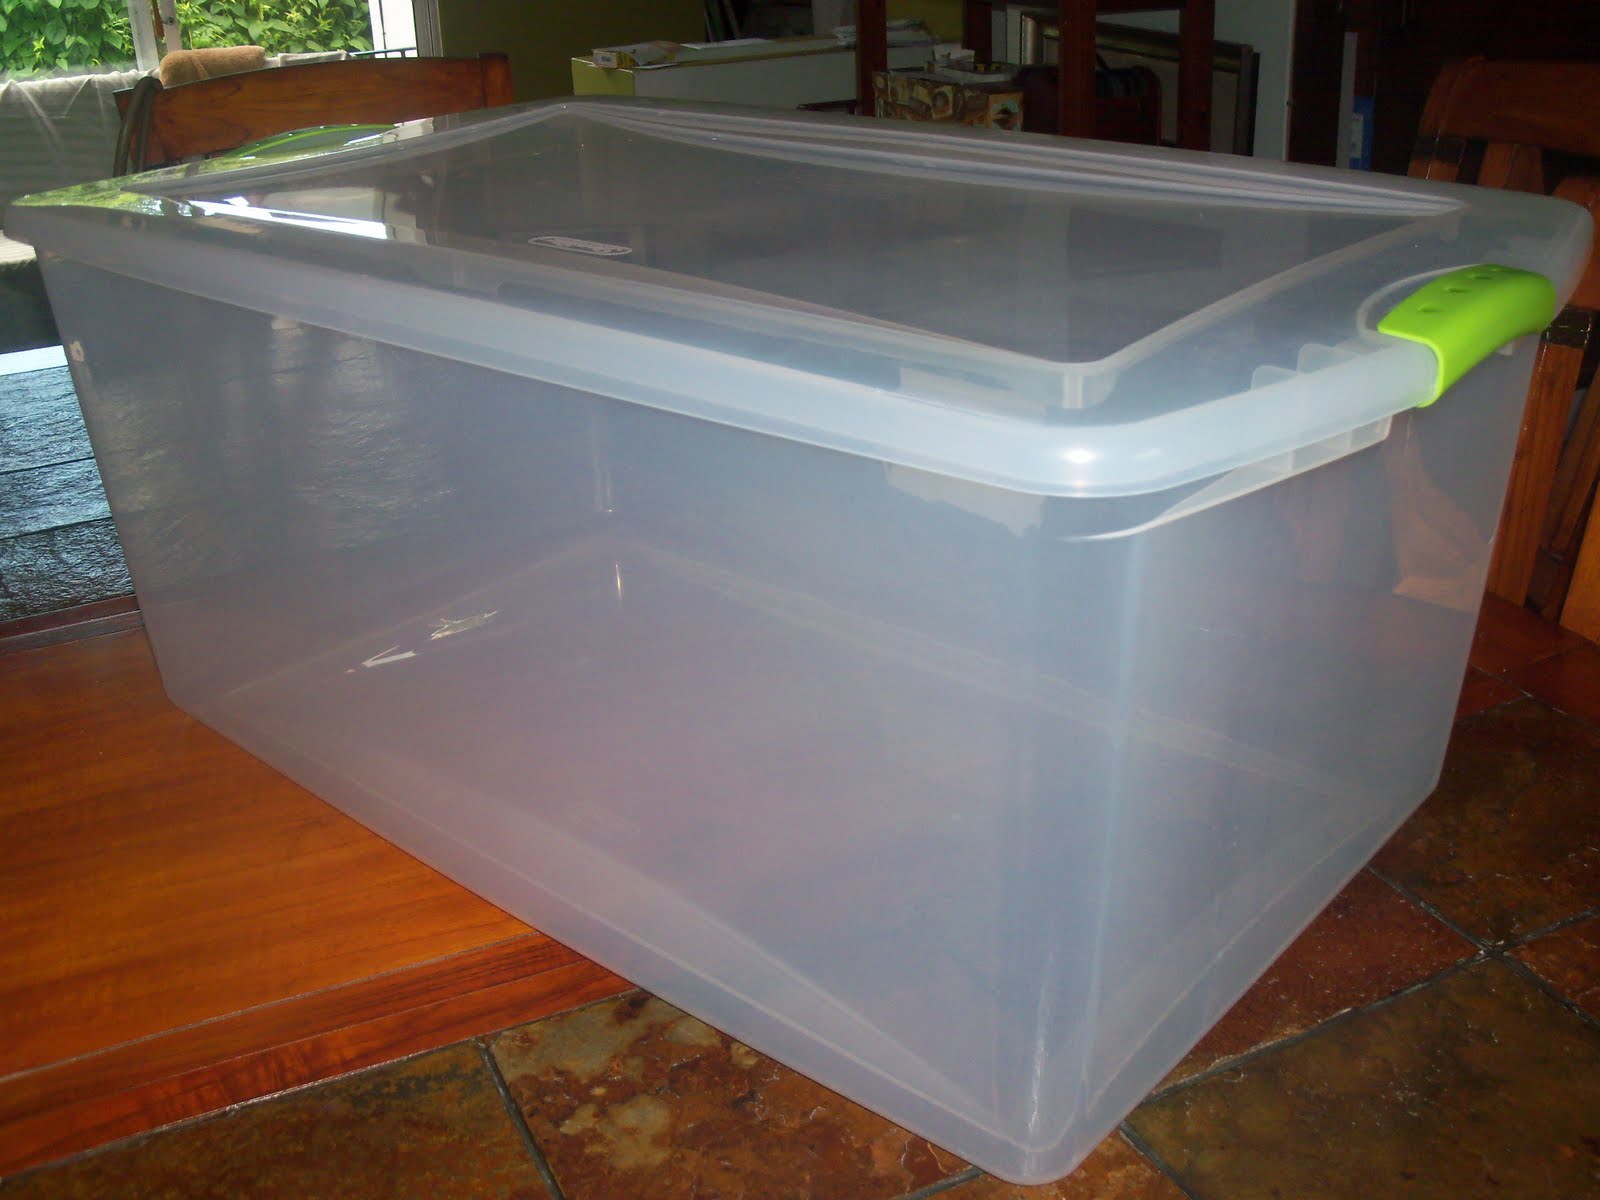
It is so true that "Kids Just Want to Have Fun" !!! ... And that is the way it should be. The children in our lives are little angels that bring us so much joy and happiness !!! I invite you all to make their world a little piece of heaven here on earth :) My little ones are all grown now, but in my heart.... they know they still are and will always be my little ones. One of my "little ones", my oldest daughter Cindy, has her own little one !!! ... go figure ! It is for her baby, Santiago, a very active and playful 27 month old toddler, that I made my project: a much needed TOY BOX. I hope he now can put away most of his toys when he is... done playing ???? Like thats ever going to happen !!! LOL
To make the Toy Box you will need:
***Para hacer la caja de juguetes necesitan:
- One BIG clear plastic box
- ***Una caja plastica grande
- Sponge Bob Cricut Cartridge
- Oracal 631 vinyl in the colors of the shapes you wish to cut.
- Transfer tape or clear contact paper to transfer the cut designs to your toy box.
- 24 x 12 inch mat for Cricut. I used this mat size to cut many pieces at once, but you can make adjustments and cut shapes in a smaller mat.
TIP: If you do not have a color of vinyl that you need, simply color a piece of white vinyl with acrylic paint and let dry.
***TIP: Pueden pintar vinil blanco con pintura de acrilico. Deje secar bien antes de usar.
***TIP: Pueden pintar vinil blanco con pintura de acrilico. Deje secar bien antes de usar.
Let's do it:
***Como hacerlo:
- Adjust your Cricut machine to: pressure at 3; blade depth at 4.
- Design your layout on your Gypsy and cut and arrange pieces of vinyl on your cutting mat, using the colors that correspond to the images to be cut. NOTE: If you do not have a Gypsy, no problem. Just place the colored pieces of vinyl where you plan to cut the shape.


- Remove excess vinyl from your cuts, leaving only the vinyl image to be transfered to the toy box. (***Remueva el exceso de vinil, dejando solo la pieza que va a usar).
- Layer your images at this point, if necessary. The completed layered images should look like store bought stickers. It is best to use tweezers to transfer small pieces for layering. Transfer larger images with transfer tape. (You should only be transfering the vinyl, leaving the paper backing behind). (***Monte todas las piezas o capas de vinil necesarias para hacer su figura. Transfiera las piezas peque~nas con pinzas y las grandes con "transfer tape". Solo ransfiera a la caja de juguetes la pieza de vinil, dejando atras el papel blanco).
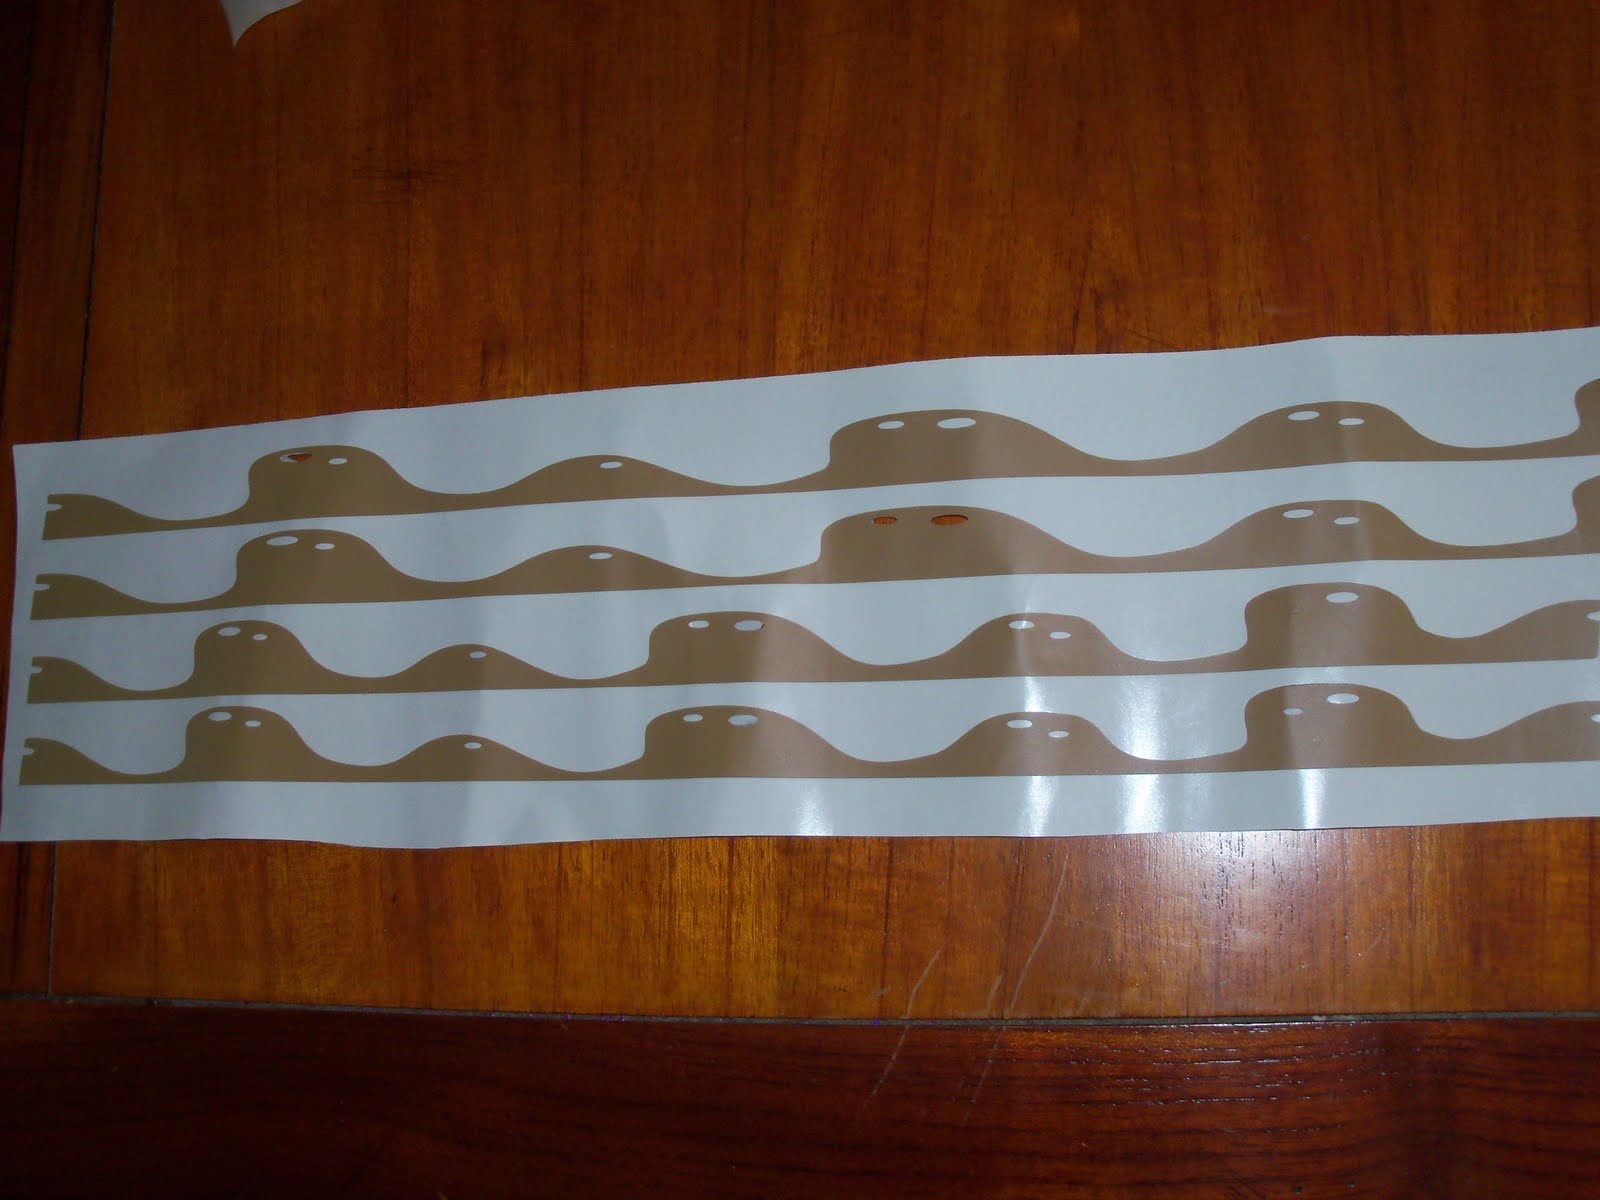


- Once all the sticker-like shapes are done, begin transfering them with transfer tape or with your hands, to the plastic box.
- I did the background first: the sand and the water (waves).
- Where to place the rest of the vinyl cut outs is up to you and it is so much fun !!!


BLOG CANDY: To qualify to be the winner of a $15.00 Gift Certificate good to purchase from Oh My Crafts, just leave a comment under this post. The winner will be chosen using random.org on Tuesday morning.
***PREMIO: Para participar en el sorteo de un Certificado de Regalo de $15.00 para usar en Oh My Crafts, deje un comentario en la seccion de "comments". El ganador sera electo el martes usando random.org.
***PREMIO: Para participar en el sorteo de un Certificado de Regalo de $15.00 para usar en Oh My Crafts, deje un comentario en la seccion de "comments". El ganador sera electo el martes usando random.org.
Now, let's hop on to http://scrappin3rdeeschik.blogspot.com/ to see what fun project Meighen has for us to enjoy !!! {HUGS}


