
Hello everyone !!! I am Martha and can't be happier to be a Weekend Warrior on Tammy's Design Team.And yes, it will be Thanksgiving in just a few days!!! And among the many things that I have to be thankful for, I am that I have my Cricut Imagine that helps me speed up my Holiday decorations. You can go to my blog and check out other creations /i have made with this wonderful machine. For this project, I made some things for the Thanksgiving table: a table runner, placemats, menu cards and place cards. I used burlap on all of the items.
****Para este proyecto prepare un "runner", mantelitos, tarjeta de menu y tarjeta de asiento, todas con tela de saco.
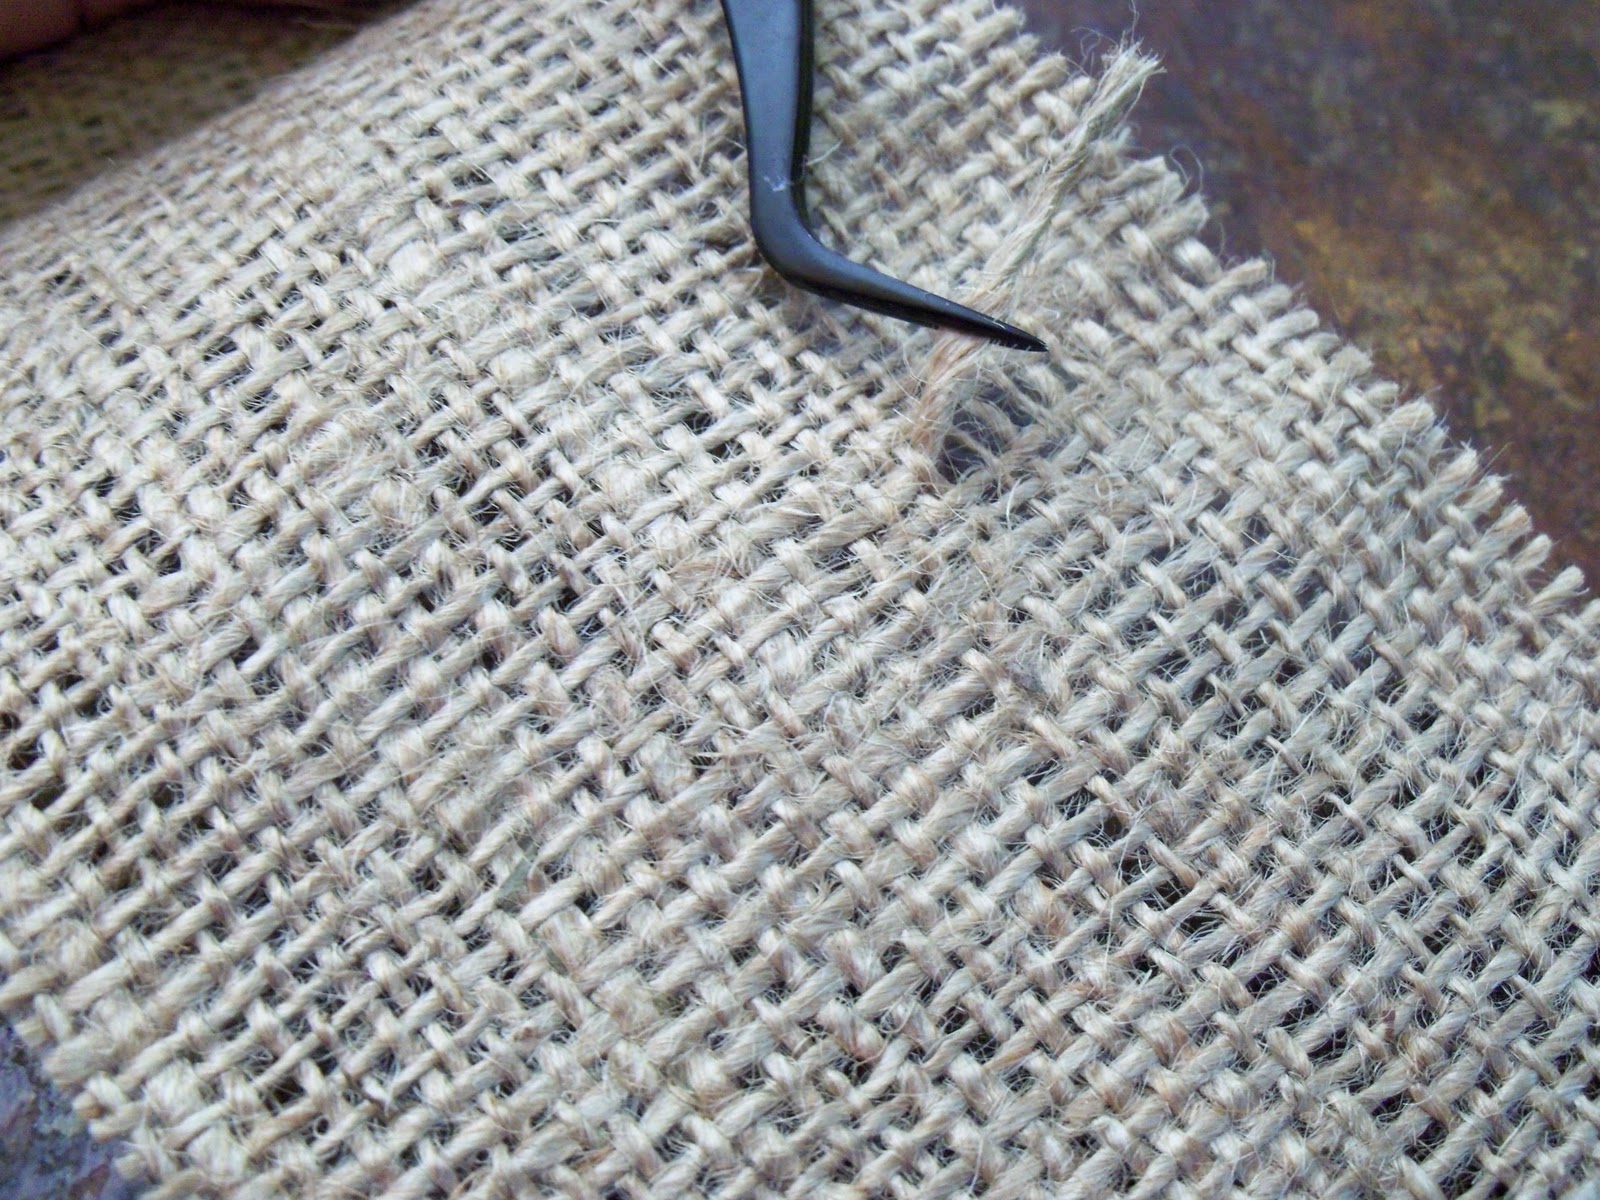
Preparing burlap:
Gently handwash, let dry and iron the burlap that will be decorated with fabric transfer - Decide how big you want your pieces to be and do the following: pull out a thread of the burlab - Cut through the space the thread was - Pull out more threads on each side to make a fringe.
****Lave a mano, seque y planche la tela de saco que lleva adornos con "iron-on transfers". Luego, preapare la tela siguiendo estos pasos.


Menu cards:
You want the burlap to be stiff. For this you can use a fabric stiffener or hard drying glue. I used glue this way: add all around the edges, brushing towards the center. Add a little more glue to the center and spread. Let dry.
****Si desea endurecer la tela, use un endurezador o use pega que seque duro. Aplique en toda la orilla y con una brocha, hake la pega hacia el centro. A~nada mas pega si es necesario y deje secar.


This menu card is 5 x 7. I cut a piece of cardstock 4 1/2 x 6 1/2 and layered it on top of the burlap. Then, using my Imagine, I cut maple leaves out of green cardstock from The Create a Critter cartridge. to place them on the top layer of the menu card where the actual menu is written. Make a bow to decorate the place card holder.
****Prepare en su computadora la tarjeta con el menu y decore con hojas cortads con su maquina.

Place cards:
Fold a piece of 6 x 3 inch of cardstock by half - Glue a piece of fringed burlap to the front - With the Imagine More and Create a Critter cartridges installed to your Cricut Imagine, cut a maple leaf 3 inches high and flood with color - Glue the leaf to the burlap - Make a name tag and add to the place card.
****Doble por la mitad un pedazo de cartulina de 6 x 3 pulg. Adorne con tela. Coloque una hoja previamente cortada y coloreada en la Cricut Imagine, con los cartuchos mencionados. Ponche una etiqueta con el nombre.

Runner and place mats:
With the Imagine More and Create a Critter cartridges installed into your Cricut Imagine, select maple leaves, acorns and pumpkin shapes and flood with the pattern of your choice. Place Print'n Press Iron-On transfers on your cutting mat. Set your machine at pressure 5 and multicut 2. Print and cut and iron on to your runner and place mats (previously finged and ironed).
****Ponga en su "mat" un papel Print'n Press para hacer transferencias. En su maquina, ponga la navaja en presion 5 y "multicut" 2. Corte las figuras y planchelas a la tela, previamente deshilada y planchada.

Place burlap on a flat, long surface. Add a thin strip of Liquid Stitch glue to the the thread where the fringe starts. Gently lay down the trimming over the glue, gently tapping (do not press down). Go all around the runner or place mat.
****Sobre su tela ya preparada, pegue el adorno sobre una hilera de pega Liquid Stitch. No presione el adorno, dejelo caer suavemente sobre la pega.

You will be surprised at your results !!! Isn't this lovely ???


HAPPY THANKSGIVING !!!!!
FELIZ DIA DE ACCION DE GRACIAS !!!
Martha just love it.
ReplyDeleteI love the burlap, what a darling idea! Thanks for sharing.
ReplyDeletejpshirley@ymail.com
That is just awesome what a idea!
ReplyDeleteMinta
mintab@gmail.com
http://mintascreations.blogspot.com/
I love this!! You are so talented =)
ReplyDelete