Thursday, March 31, 2011

My Creative Time- "Throwback Thursday" Guest Designer Project: So Grateful For You

 
What a surprise it was that Miss Emma herself invited me to be a Guest Designer on her Throwback Thursday Challenge !!!! OMG, I feel so honored !!! And best of all, I had so much fun making this card !! I found the colors and theme of this pattern paper to be so happy, crafty and girlie that I decided they would be the perfect match for Emma's beautiful stamps and the font style used in my set.
  1. Stamp sentiment on cardstock and make border.


2. Cut parts of card base and focal piece, ink and distress paper where necessary, stamp and cut out "spool" and cover with embroidery floss. Assemble card:


Click HERE to go back to Emmas blog so you can see the other amazing designs :)

THANK YOU SO MUCH FOR STOPPING BY !!! HAVE A WONDERFUL DAY    :)

Saturday, March 26, 2011

Kitchen Magnets in a Box


Happy Saturday, everyone !!!! My oldest daughter is always bugging me for kitchen magnets, because they don't only hold important (and not so important) notes and papers, but they are also toys for my grandson. He can spend lots of time playing with the magnets on the refrigerator.
So, for my project today I will show you the magnets I made and the box I made for storing them. My daughter is going to be one happy camper ! :)

Recipe:

Imagine cartridges: Yummy- cupcake, birthday cake, icecream cone, box
                                 Better Together - sun, cup, bread and butter
Cardstock: American Crafts
Stickles
Sakura Gelly Pens
Ink jet photo magnet sheets (TransferMagic.com). I got these at Joanns.
  • Put a piece of magnet sheet on your Cricut Imagine mat. I set my Imagine at multicut 2, pressure 3, blade depth 5.
  • Cut the images selected and embellish
  • Details of magnets:


THE BOX:


Thank you so much for stoppping by, and have a great weekend !!!!!!!!!! :)

Monday, March 21, 2011

Hurry Back Home Card


No matter where we are, at work, vacation, college, or shopping we always want to go back to that one special place where we feel the most comfortable and where we can be ourselves: HOME !!!! I think of my two children who are in the Military, and how they dream of being home... also, my daughter Diana who is away at college, cannot wait for the weekends to be home. Even one of my sons, who travels every day to a nearby town to go to college, expresses a sigh of relief when he finally gets home at night. Everyone wants to get away and come back to the warmth of the place we call home.

My project today has a simple home, with the clothes drying on a clothes line and a tree with flowers and birds chirping; behind is the big building skyline.

RECIPE:

Cartridges: Better Together
Cuttlebug embossing folders
Copic Markers
Stickles: orange, fruit punch
Crystal Effect Stampin Up
  • Cuts I made for the front of the card


  • Parts for the inside of the card

  • Put together the front of the card
    • to create the skyline, cut different heights of the houses and run through the Cuttlebug
    • Add Stickles to the flowers and Crystal Effects on the birds
    • With Copics, draw the grass over the blue background.
    • run a piece of Kraft colored cardstock through the Cuttlebug and use it as a base for the focal point. Place it over a white card (finished size is 7x5)

  • Inside of the card

....And here is your favorite chair, waiting for you to come home :)

Thanks for stopping by.................................

Saturday, March 19, 2011

"HomE Is WhERe ThE HeArT iS" ... a very crafty home...and heart !!!


HI ! And welcome to KinderStampO's "Home is Where the Heart is" Blog Hop sponsored by Unity Stamp Co. If you have arrived here from  Angie at http://angiesscrappinspot.blogspot.com/
then you are in the right place. If you just stopped by to say hi but decided to join the hop, then start from the beginning by clicking here.

Now, with no further ado, I present to you my project !!!!

I made a wreath with the word CASA (which means HOME in english). Being as crafty as I am, I made a wreath in which the word "CASA" is covered with miniature items of what you will commonly see when entering my home. Those would be (but not limited to): paper crafting materials, cooking and baking (and eating) utensils, sewing and, cleaning items(which are the less used LOL).
  • Here are some of the items I incorporated to my wreath.
    • The flatware, plate and cupcake are cuts from: From My Kitchen cartridge.
    • The two hearts are cuts from: Don Juan cartridge.
    • The hearts were cut on chipboard and covered with fabric.

  • The wooden spools were covered with embroidery floss.
  • The plate,silverware and cupcake were painted with acrylic paint.
  • I filled the basket with tiny cuts of cardstock.
  • I made a bouquet of tiny flowers that were inserted in styrofoam (already in the flower pot).


  • The wood letters: C-A-S-A were painted in blue.
  • A piece of balsa wood was covered with burlap.
    • The letters were glued to the finished burlap piece.  
  •  Embellish letters and wreath as you wish. I used a hot glue gun to add the embellishments. 


      I hope that you have enjoyed my project  and felt inspired. It is time to hop on to the next blog and see what she has made. You will now be stoppping by Christi at - http://alteredambitions.blogspot.com/
  • And now, to the BLOG CANDY !!! Yuuummmm
Unity Stamp Co. 'In Store Exclusive' Throughout all Generations

Unity Stamp Co. 'In Store Exclusive'Roots and WIngs
Ippity by Unity Life's Little Moments
Unity Stamp Co. and Bella Blvd. Family Dynamix
  • How do I win ?????
    • Leave a comment on each of the blogs and let them know what you love about Unity and/ or their featured project.
    • Become a follower of the designers if you aren't already.
    • Become a Facebook follower of Unity Stamp Co. on Facebook http://www.facebook.com/pages/Unity-Stamp-Company/103252399709382 and thank them for sponsoring the hop.


Saturday, March 12, 2011

Tri-fold Birthday Card For my Soldier Boy :)


I always bake a cake for my children for their birthdays. My son Brandon's birthday is next Tuesday, March 15th. As you can recall, I had mentioned that he is now in the ARMY and this year, he will not have my home made cake. So, I thought I would make a card using my fabulous..... out of this world, Imagine machine, with a "mom"  holding a B-day cake. I hope he loves it !!!
With this tri-fold card, I try to re-create the surprise of my son opening the door, and seeing ME with a surprise cake and party.

 I loved the pattern images in one of the cartridges, but wanted to use the shape on a different one. EASY solution: I used the cache pattern feature on my machine. I will show you how !!!

RECIPE:
  • Imagine cartridges:
  • Copic markers to color mom's hair
  • Sakura Glaze pen to color apron
  • Cuttlebug embossing folder: Distress Stripes
Cache-ing a pattern:
Insert the cartridge that contains the pattern that you want. Select the pattern of your choice. Hold the stylus over it for a few seconds untill you see this message:


  • The pattern now stays in the machines memory and can be used with your next cartridge.
    • Remove the cartridge.
  • Insert the cartridge with the shape that you want to cut.
  • Scroll across the pattern bar untill you see the one you did the "cache pattern" and select it.
  • Print and cut.

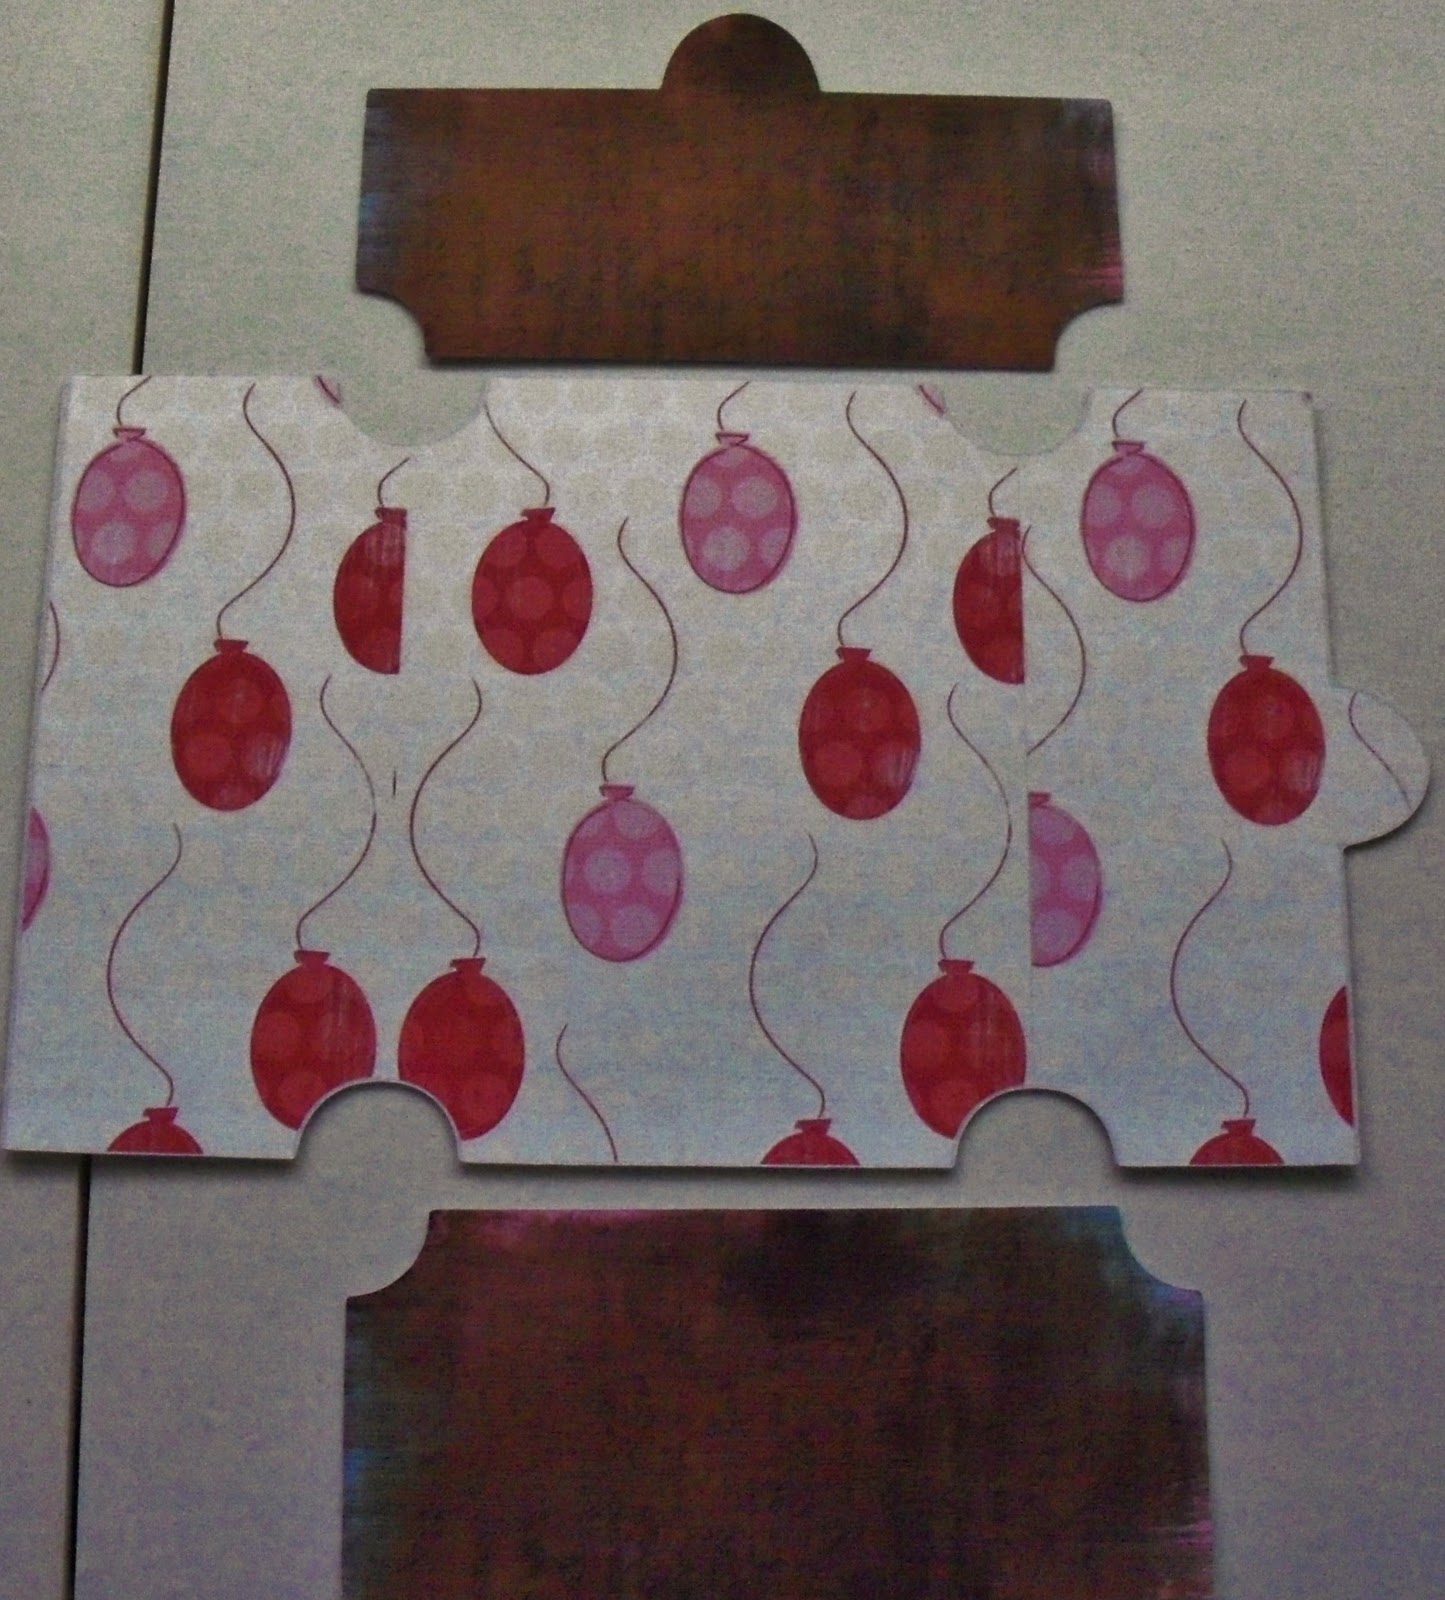
Print and cut all the parts you need to make your card:


Put together the "mom with cake":


  • Run the brown pieces through the Cuttlebug and score and fold the tri-fold card.
    • Glue the pieces to the front of the card.
    • Add pennants with glue dots
    • Cut, distress and glue together two cirlces and add a foil initial to center


Place "mom with cake" inside the card and affix with 3-D dots.