Showing posts with label Imagine More Cards cartridge. Show all posts

Saturday, April 23, 2011

"Just A Little Hello" card.


Hello!!!! I am so excited !!! Today I got to use for the very first time my Gypsy with my Imagine after the latest update. I designed the front of the card with it's layers using the "Imagine" section of the Gypsy, and was able to "save" my design for future use. Then, I needed to weld two circles to create the card base. For that, I used the regular Gypsy features by welding two circles with the Create a Critter cartridge, but I cut the image with the Imagine, while having the Gypsy still connected to it. I used a sand colored cardstock for the card base.
I choose a cute, all occasion card for my project. One can never have too many of those !!!
  • RECIPE:
    • cartridges:
    • cardstock: American Crafts (white) ; DCWV (sand color)
    • ribbon
    • Sakura Gelly Roll glitter pens in blue and stardust
    • sienna and blue-green ink for inking borders
  • Design project on the Gypsy. Follow the instructions on the Gypsy and Imagine screens. Print and cut.


  • Cut the card base by welding 2 circles and a square in the middle of the circles. Glue a bird to the inside of the card.

  • Put together all the layers. Paint the bird with glitter pens.

  • I did the "COMBINED" version of the card, to compare vs. the layered card.


Once more, thank you for stopping by. Have a Happy Easter Sunday :)

Saturday, March 12, 2011

Tri-fold Birthday Card For my Soldier Boy :)


I always bake a cake for my children for their birthdays. My son Brandon's birthday is next Tuesday, March 15th. As you can recall, I had mentioned that he is now in the ARMY and this year, he will not have my home made cake. So, I thought I would make a card using my fabulous..... out of this world, Imagine machine, with a "mom"  holding a B-day cake. I hope he loves it !!!
With this tri-fold card, I try to re-create the surprise of my son opening the door, and seeing ME with a surprise cake and party.

 I loved the pattern images in one of the cartridges, but wanted to use the shape on a different one. EASY solution: I used the cache pattern feature on my machine. I will show you how !!!

RECIPE:
  • Imagine cartridges:
  • Copic markers to color mom's hair
  • Sakura Glaze pen to color apron
  • Cuttlebug embossing folder: Distress Stripes
Cache-ing a pattern:
Insert the cartridge that contains the pattern that you want. Select the pattern of your choice. Hold the stylus over it for a few seconds untill you see this message:


  • The pattern now stays in the machines memory and can be used with your next cartridge.
    • Remove the cartridge.
  • Insert the cartridge with the shape that you want to cut.
  • Scroll across the pattern bar untill you see the one you did the "cache pattern" and select it.
  • Print and cut.

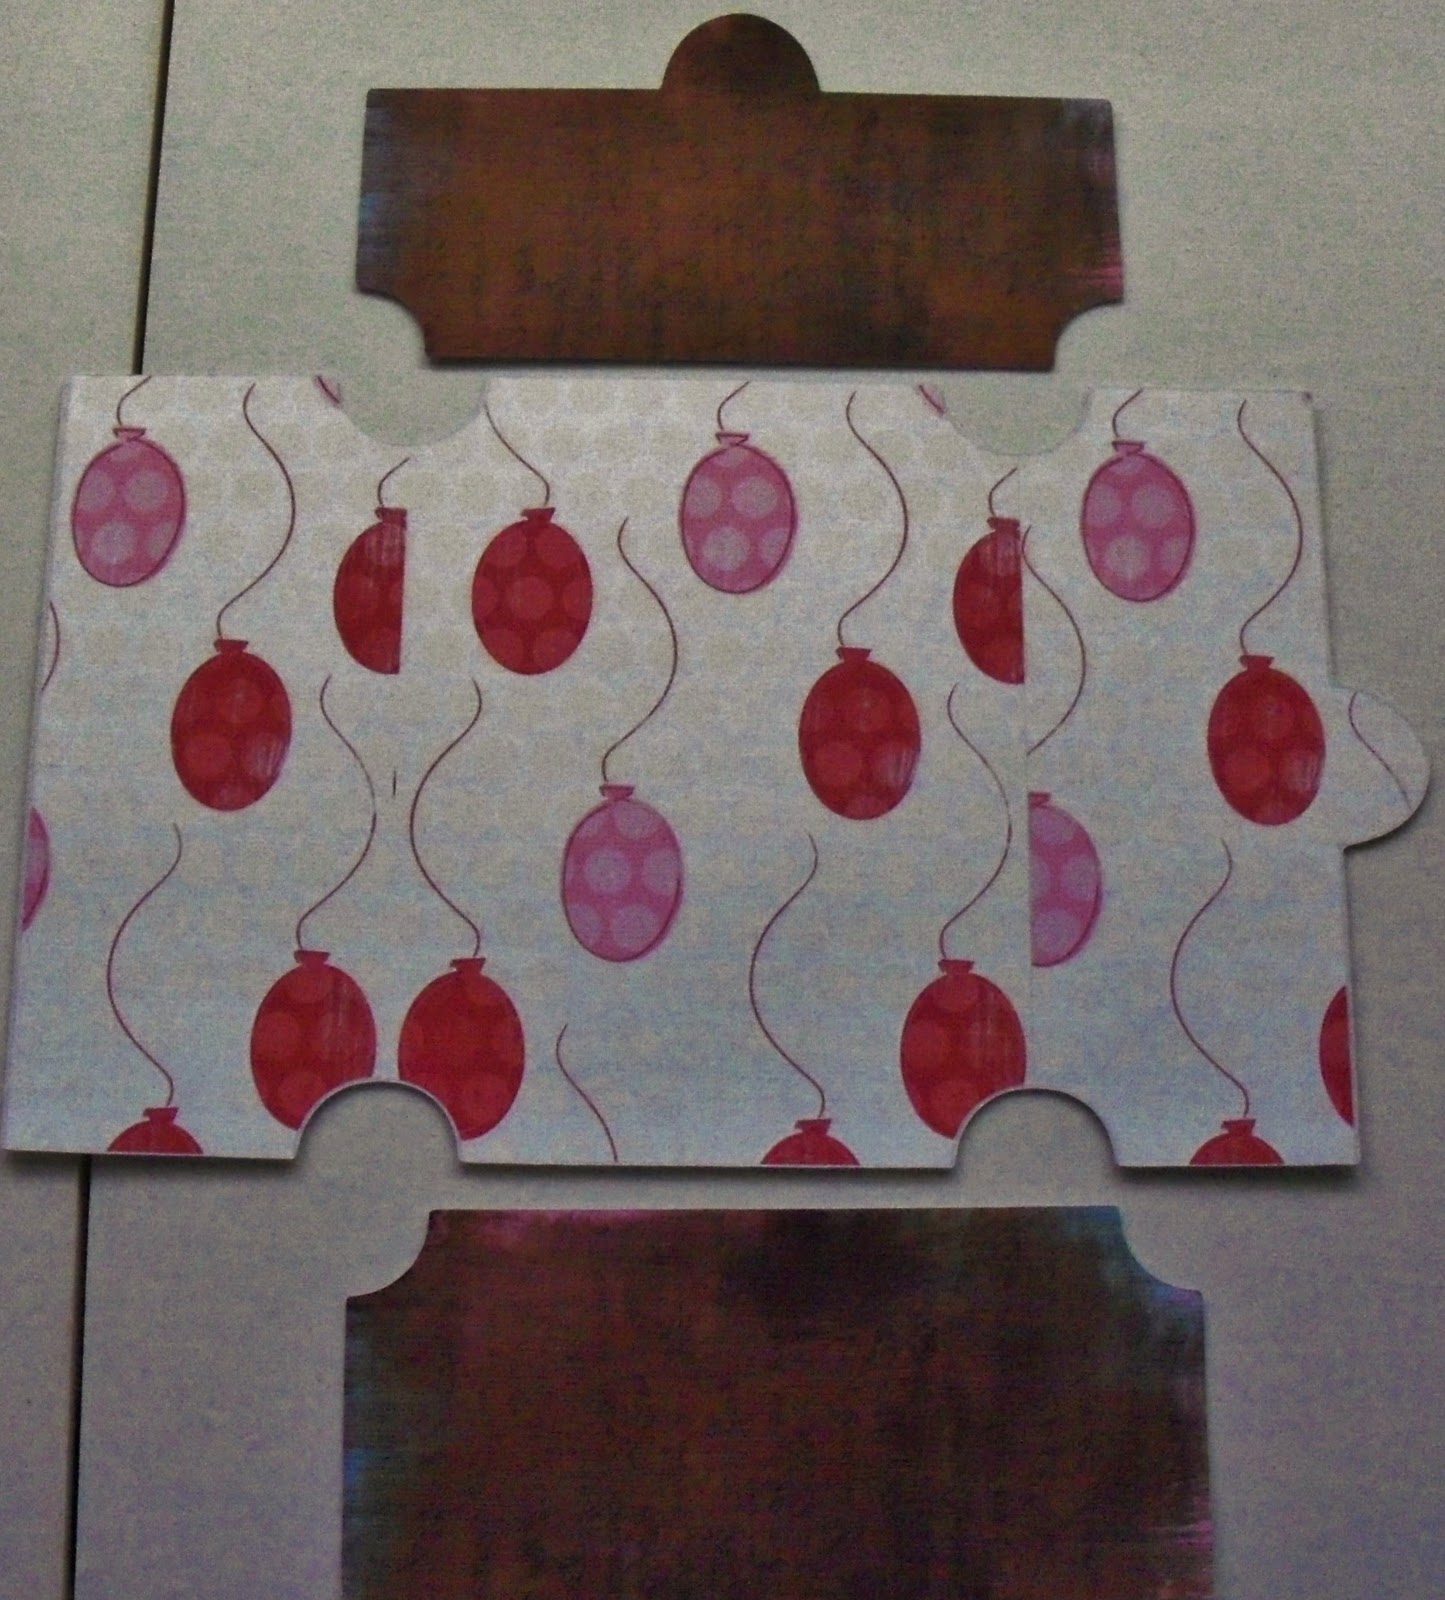
Print and cut all the parts you need to make your card:


Put together the "mom with cake":


  • Run the brown pieces through the Cuttlebug and score and fold the tri-fold card.
    • Glue the pieces to the front of the card.
    • Add pennants with glue dots
    • Cut, distress and glue together two cirlces and add a foil initial to center


Place "mom with cake" inside the card and affix with 3-D dots.