
This week, I was watching the Martha Stewart show, and she was making the most amazing flower arrangements in all shades of pink imaginable. The reason: pink will be the trendy color for weddings this summer. I immediately felt inspired. So, I went ahead and grabbed the cartridge that intimidates me just a tad LOL: Wild Card. Again, it took me a while to study and figure out how to put this card together, but I finally did. I will guide you through the steps so that you to can me this beautiful pink Bridal Shower card, found on page 79 of the Wild Card handbook.
***Esta semana, mientras veia el programa de Martha Stewart, ella estaba confeccionando unos arreglos florales increiblemente bellos, todos en tonos rosados. La razon es sencilla: el rosado sera el color de moda para las bodas de verano. Inmediatamente me senti inspirada! Asi que tome el cartucho de Cricut que me causa un poco de intimidacion: Wild Card. Como de costumbre, me tomo un poco de tiempo poder descifrar como armar la tarjeta, pero finalmente, lo logre! Ahora, los guiare a trves de los pasos, para que ustedes tambien puedan hacer esta preciosa tajeta rosada de Despedida de Soltera, que se encuentra en la pagina 79 del manual de Wild Card.
Card:
Tarjeta:
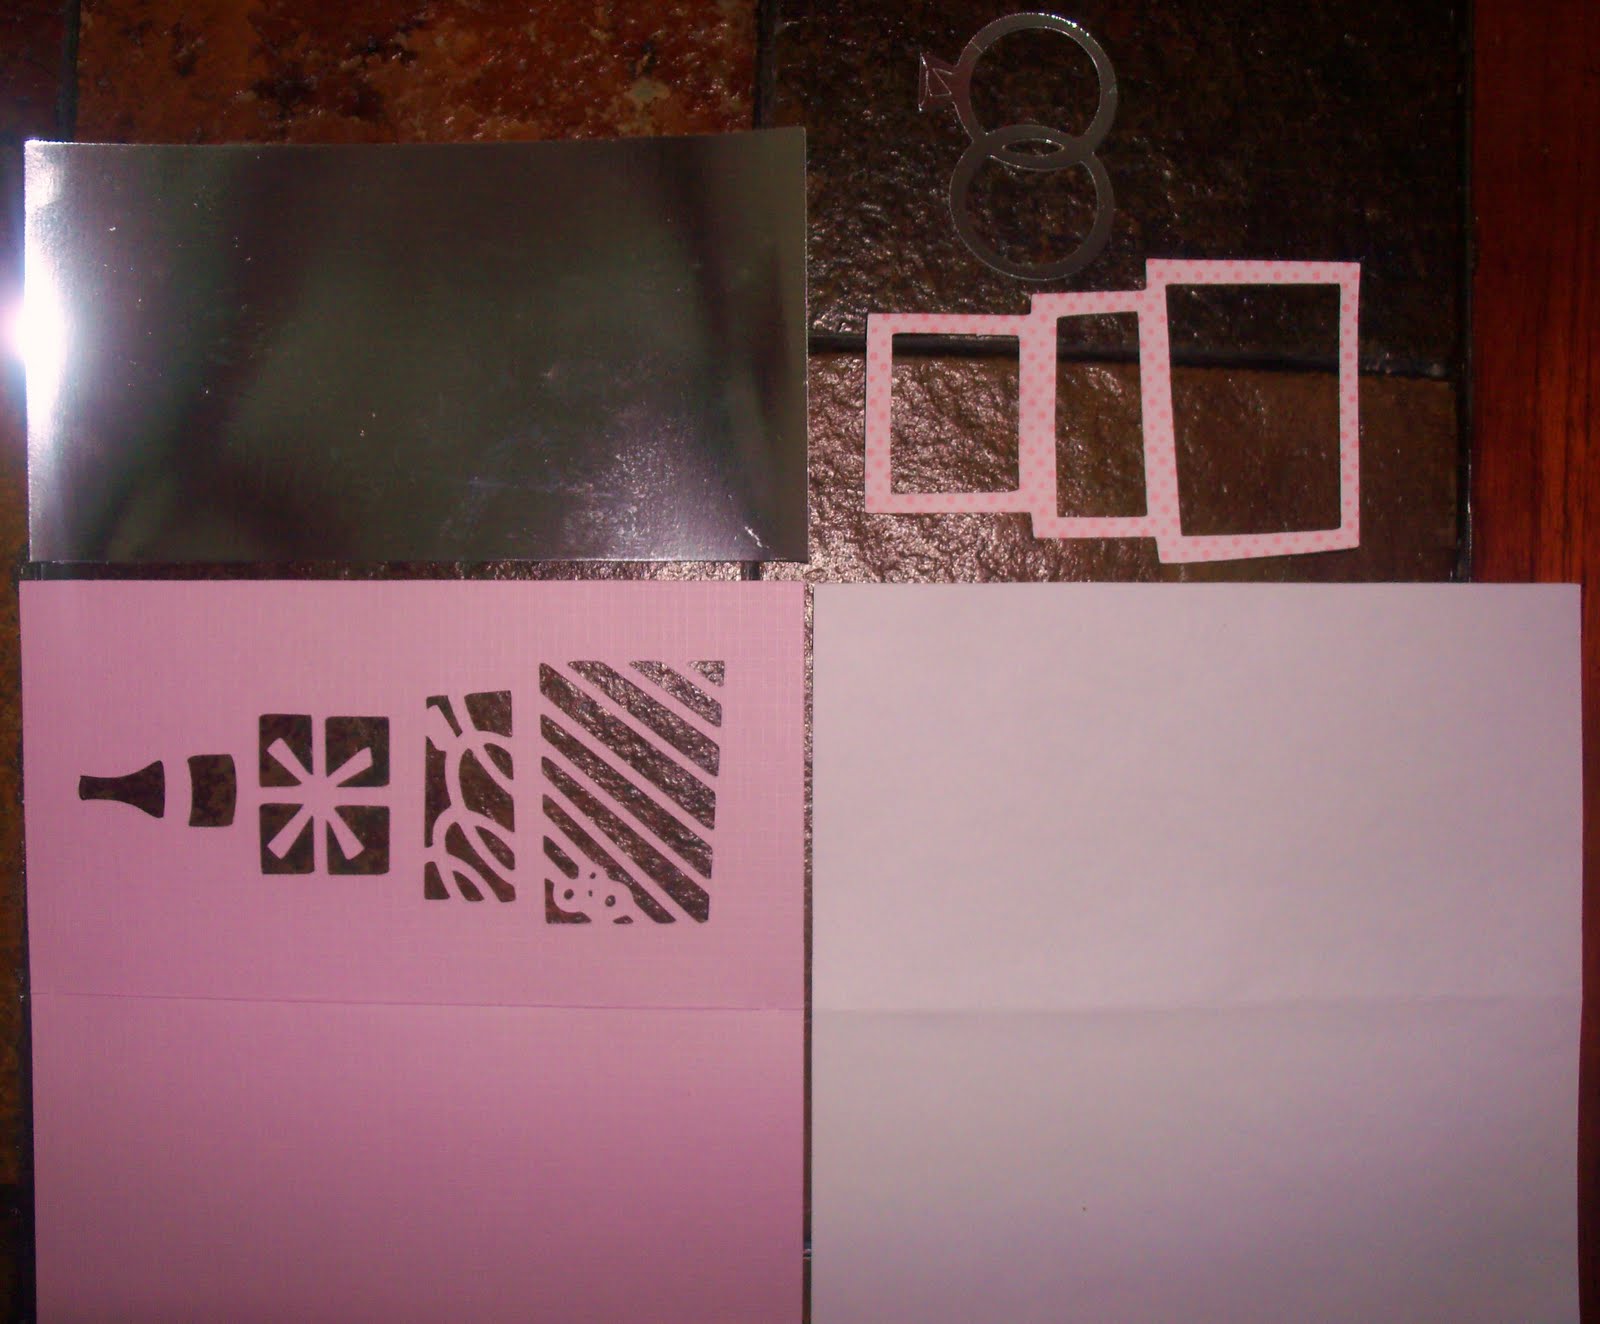
- Card and accesories were all cut al 7 3/4 inches. ( La tarjeta y todas sus partes se cortaron a 7 3/4 pulg.)
- Bazzill Foil Cardstock was used put under the tower of gifts cut-out of the card and the "wedding rings". (Se utilizo papel plateado marca Bazzill Foil Cardstock para pegarlo debajo de la torre de regalos de la tarjeta y para hacer los anillos).
- Ink and glue the gift tower "skeleton" to the front of the card, over the gift tower cut-out.(Sombree los bordes y pegue el "esqueleto" de la torre de regalos sobre la torre de regalos del frente de la tarjeta.
- Embellish the gift tower as you wish, with bows, Stickles and pearls. (Decore la torre de regalos como desee, usando lazos, escarcha "Stickles"y perlas).
- Place a piece of white paper inside the card to which you will add the sentiment and the rings. (Coloque dentro de la tarjeta un pedazo de papel blanco, en el que va a estampar un mensaje y pegara los anillos).
- Ink edges. (Sombree las orillas de la tarjeta).

Sobre:
- The envelope was cut at 8 inches on a 12x 12 piece of cardstock. (el sobre se corto a 8 pulg. de una cartulina 12 x 12).
- Cut by hand a piece of Bazzill Foil Cardstock to fit under the "looped" part of the envelope. ( Corte a mano un pedazo de papel plateado Bazzill Foil Cardstock para acomodarlo debajo de la pesta~na con dise~nos de el sobre).
- Adhere liner over the back of the envelope and on top of the back of the foil, as shown. (Adhiera el "forro o cubre faltas" en la parte de atras del sobre, cubriendo la parte posterior del papel plateado, como muestra la foto).


5. Add the umbrella and the banner with the phrase to the front of the envelope. (Pegue la sombrilla y el "banner" con la frase a el frente de el sobre).


BONUS: Hey, Look at what I did with the cut I did not use: ANOTHER PINK CARD!!!!
Hey, miren lo que hice, con el corte que no use: OTRA TARJETA ROSA !!!!

Preciosa!!! very cute!!!
ReplyDelete